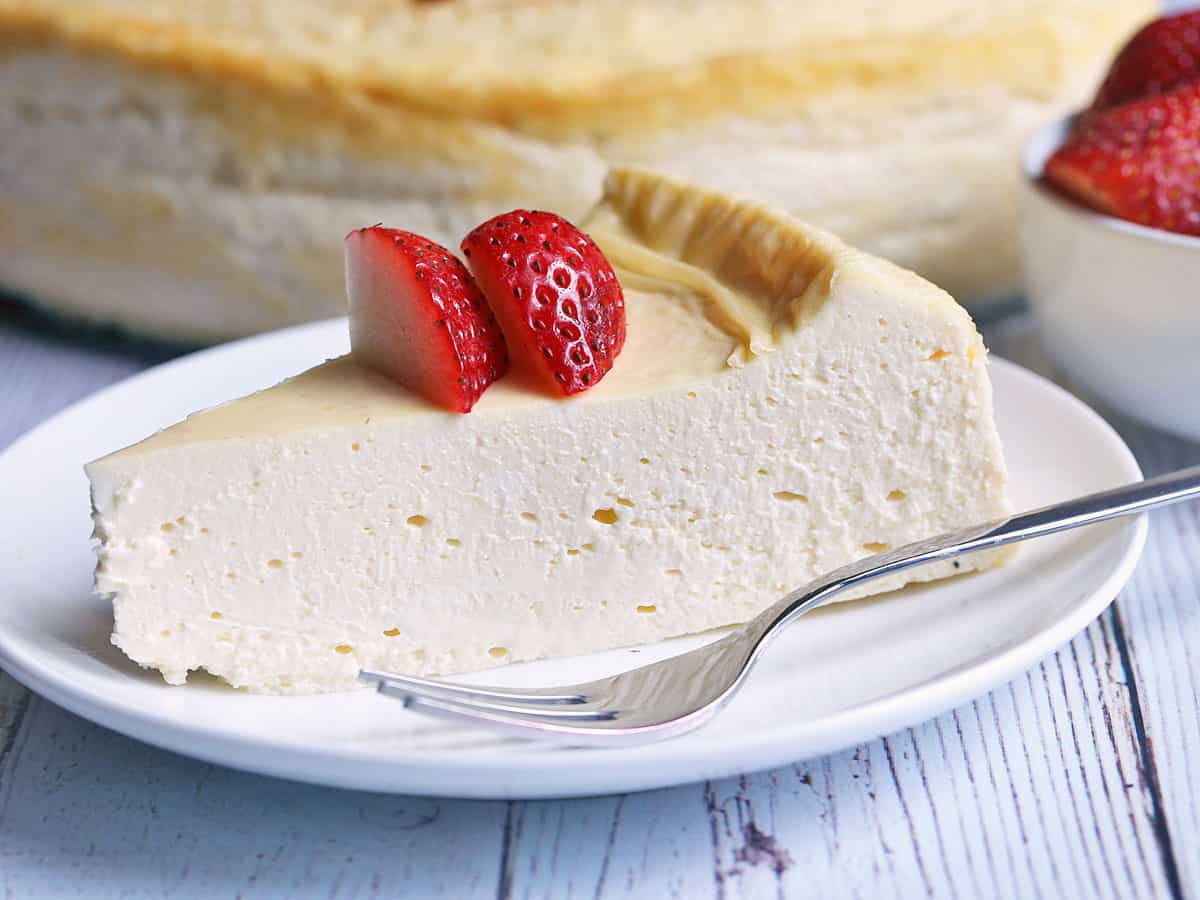
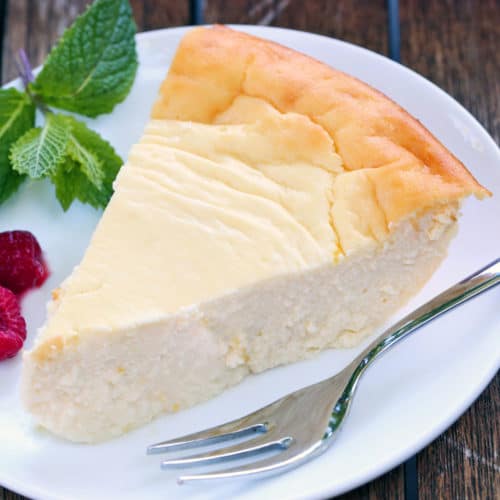
It’s made without crust and sweetened with stevia, but you can use a granulated sweetener if you wish. This wonderfully creamy cheesecake is my husband’s favorite cake. He always loved cheesecakes and was sad to give them up when we transitioned to a low-carb diet. Until we realized that it shouldn’t be too difficult to make a low-carb version!
Ingredients
You’ll only need six simple ingredients to make this keto cheesecake. The exact measurements are listed in the recipe card below. Here’s an overview of what you’ll need: But cheesecake, at least the filling, doesn’t typically contain flour. So adapting it to a keto diet is quite easy. Unsalted butter: Use it to grease the pan. You want to grease it well, to ensure that the cake doesn’t stick to it. This is important not just for ease of releasing the cake from the pan, but also to prevent cracks. You don’t want the cake to stick to the edges of the pan while it cools down. Cream cheese: Make sure you use blocks of cream cheese, not tubs of cream cheese spread. It’s important to bring the cream cheese to room temperature before using it. Sour cream: I like the Daisy brand. It’s important to bring the sour cream to room temperature before using it. Vanilla extract: I add quite a bit - a full tablespoon. So it’s a good idea to use a high-quality pure vanilla extract. Sweetener: I use stevia glycerite. The amount I use equals 1 cup of sugar, which is the perfect level of sweetness. It’s really important not to over-sweeten a cheesecake. You want the tanginess of the cream cheese and sour cream to shine through. Eggs: I use large eggs in almost all of my recipes, this one included. Make sure they are at room temperature.
Instructions
Making a keto cheesecake may seem daunting, but it needn’t be. The detailed instructions are included in the recipe card below. Here’s an overview of the steps:
Bring the ingredients to room temperature
Your first step is to bring all the ingredients to room temperature. They should spend at least 2 hours out of the fridge.
Mix the batter
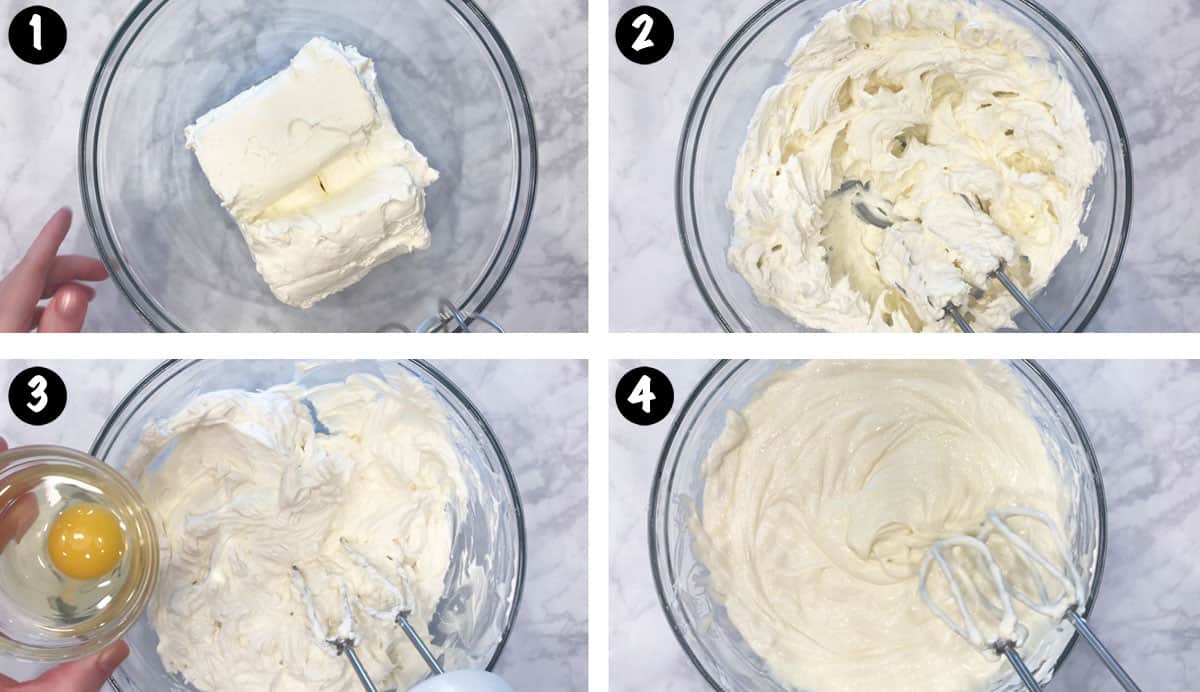
Now, place the cream cheese in a large bowl and use a handheld mixer set to the lowest speed to lightly beat it until smooth. Next, add the sour cream, the vanilla, and the sweetener. Mix just until incorporated and make sure you don’t over-mix. The eggs are then added one by one, and you should mix them minimally. Just until incorporated, not a second longer. You don’t want to introduce too much air into the batter.
Bake the cake
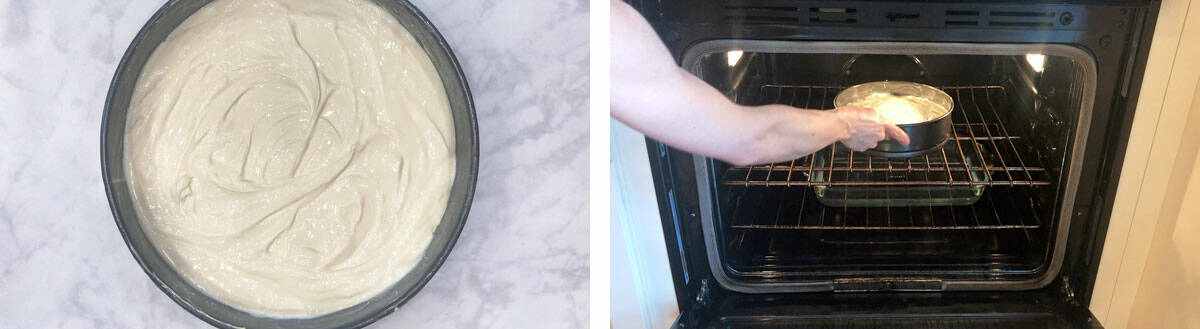
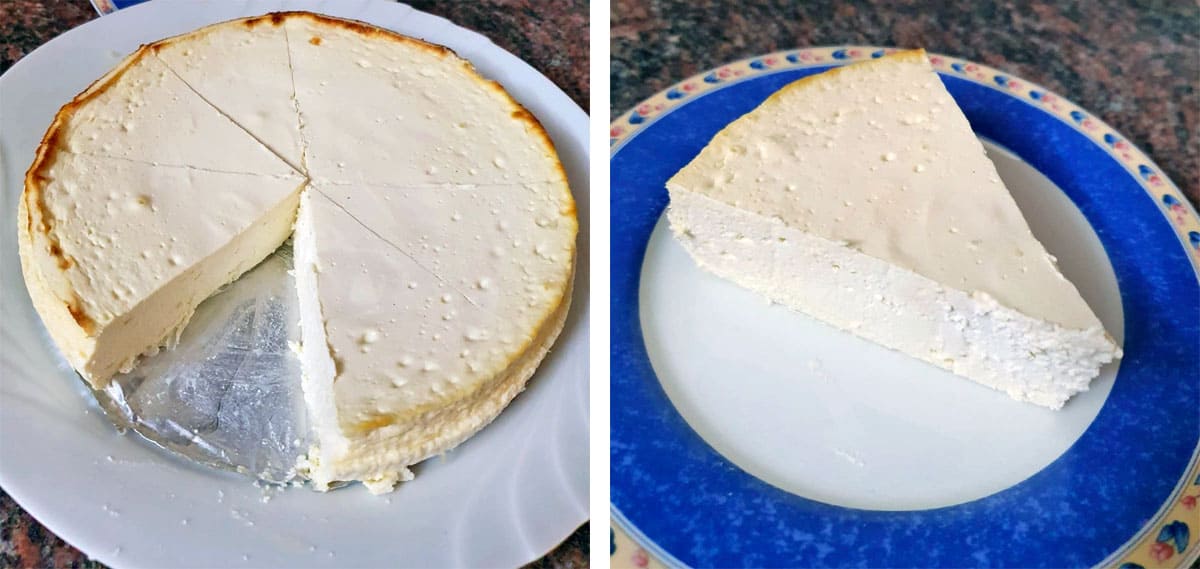
Now, pour the batter into the well-greased pan and smooth the top out with a spatula. Bake the cake until the edges are slightly puffed and just beginning to brown and the middle is still sunken and jiggly but no longer liquid. This should take 50-60 minutes in a 300F oven. It’s important not to over-bake, to prevent cracks.
Cool the cake
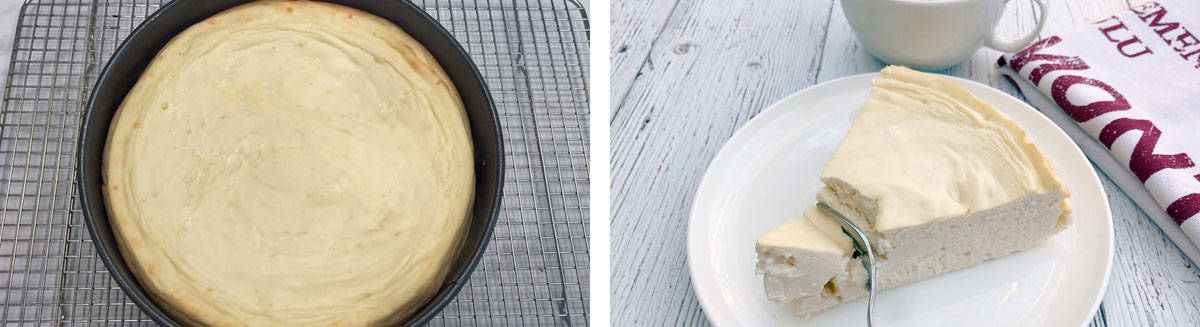
As soon as you see that the cake is done, turn the oven off and crack the door open, leaving it ajar. Allow the cake to gently and slowly cool inside the cooling oven for one hour. This is another trick for preventing cracks. After the cake has spent an hour in the cooling oven, take it out and place it on a cooling rack. If the edges of the cake haven’t pulled away from the sides of the pan, gently run a knife around the rim of the pan to loosen them. This helps prevent cracks from forming as the cake cools. Let the cake cool completely, for about 2 more hours. When the cake is completely cool, transfer it to the fridge. Refrigerate the cake, uncovered (to prevent condensation), for at least 8 hours, and preferably for 24 hours, before slicing and serving.
Expert tips
As I’m sure you know, baking a cheesecake has its unique challenges - mainly that cheesecakes tend to crack as they cool, and sometimes while they bake. Here are a few tips for preventing those unsightly cracks.
Take your time
Bake the cheesecake the day before you plan on serving it, and consider it an all-day affair - 2 hours for bringing the ingredients to room temperature, 1 hour for baking, 1 more hour for cooling the cake in the oven, and 2 hours for cooling it outside the oven. So 6 hours have passed before you can put the cake in the fridge! Then you need to refrigerate it overnight, preferably for 24 hours. Cheesecakes are NOT quick recipes. Well, except for this microwave cheesecake, which is not a true cheesecake but is very tasty and ready fast.
Bring the ingredients to room temperature
This is a must! Some people leave the cold ingredients (eggs, cream cheese, sour cream) out of the fridge overnight, in a cool kitchen. I usually take them out of the fridge in the morning, a full 2 hours before I start mixing the cake.
Don’t overmix the batter
Overmixing will aerate the batter, which later on, as the cake cools and shrinks, can cause cracks. So beat the ingredients at the lowest speed, and add the eggs last, as they can add the most air to the batter.
Grease the pan well
This will allow the edges of the cake to easily pull away from the pan as the cake cools and shrinks.
Use a water pan
I think that a water pan, placed on the bottom oven rack, is better than a water bath (placing the springform pan in a larger pan with hot water), because you eliminate the risk of water seeping into the cake, while still keeping the oven moist to help prevent the cake from drying out and cracking.
Don’t open the oven door
Use the oven light to peek and judge as best as you can if the cake is ready. It’s best to slightly underbake than to overbake. An overbaked cheesecake will definitely crack and will be dry and mealy rather than creamy. If your oven is accurate, as a general guideline, you can turn the oven off after 50 minutes. However, if the center of the cake appears to still be liquid, add 10 more minutes.
Bake at a low temperature
Bake the cake at 300 degrees F. Turn the oven off as soon as the cake is done: the edges should be very light brown and slightly puffed, but the center should still be sunken, though not liquid. If you wait until the center is fully baked, the cake will end up overbaked and will crack for sure.
Let the cake cool slowly
Let it cool for a full hour in the oven, with its door ajar. Then 2 more hours on a cooling rack out of the oven. After the cake has cooled to room temperature, refrigerate it overnight, ideally for 24 hours.
How to deal with cracks
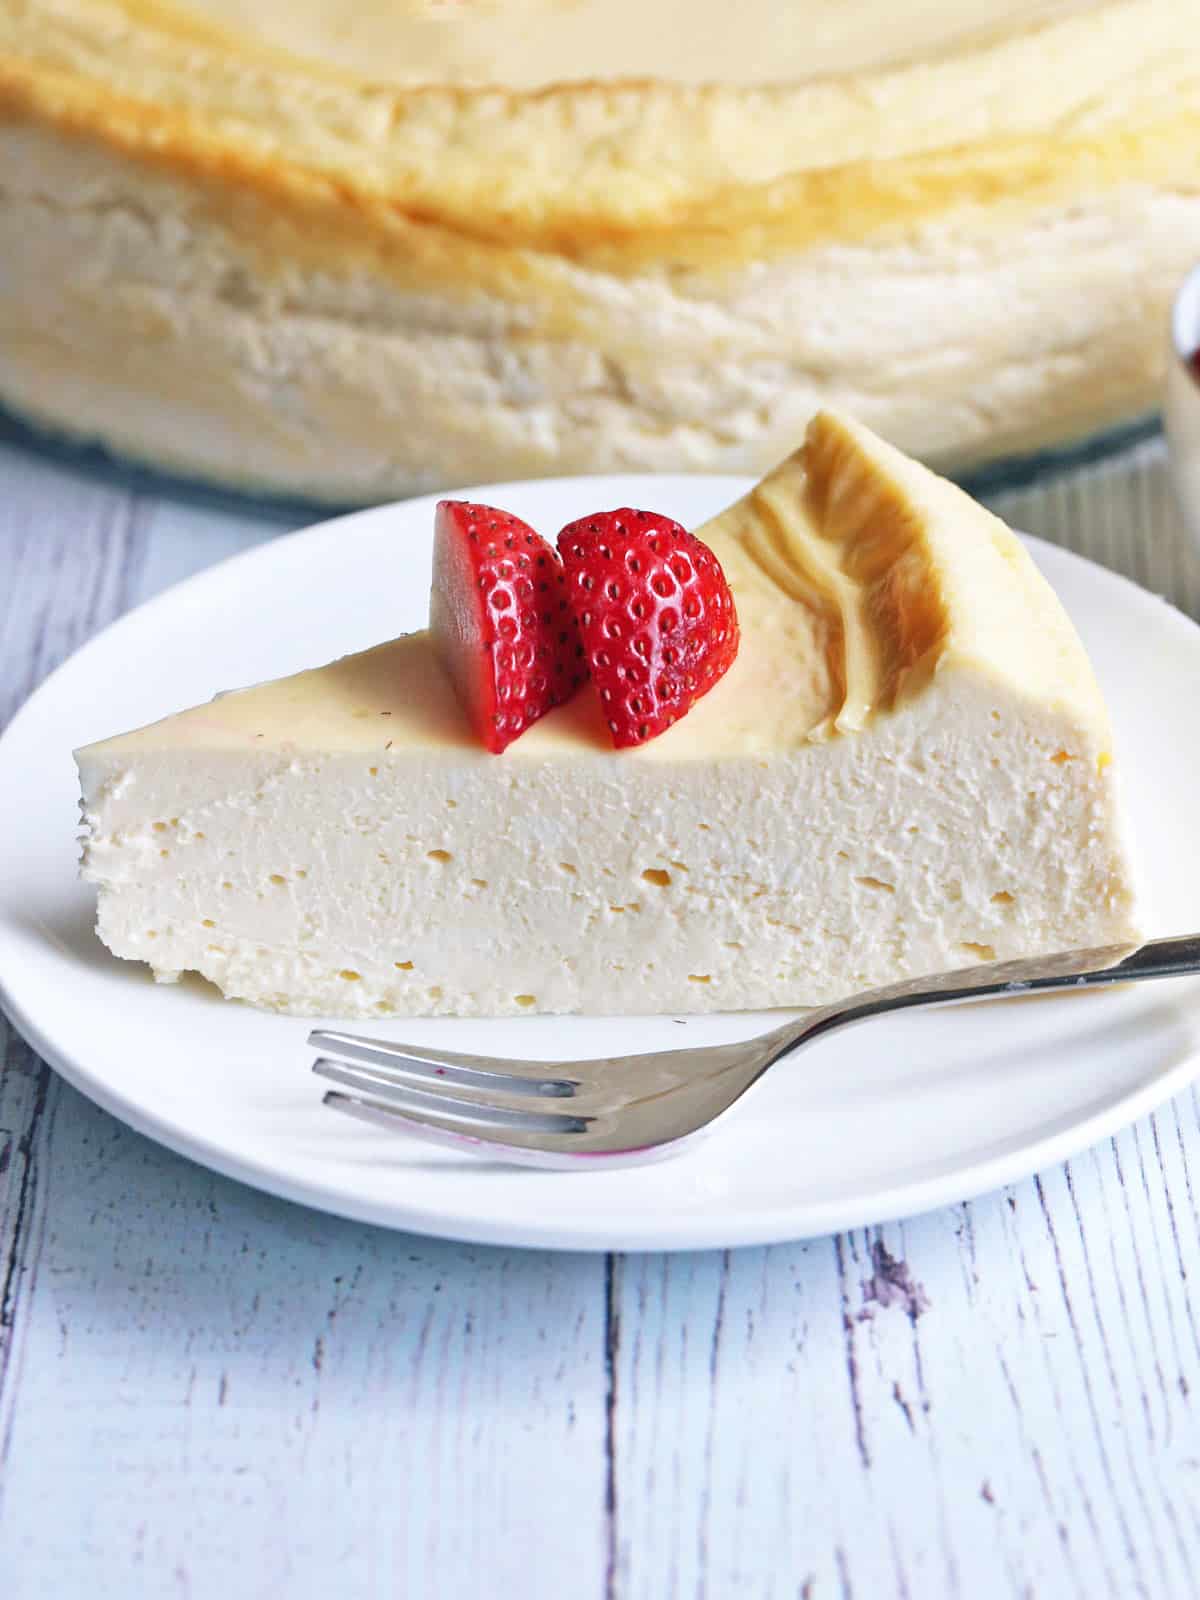
What to do if the worst happens and your cake does crack? The best way to deal with a cracked cheesecake is to disguise the cracks with a topping. You can use sliced berries, or go for more elaborate toppings such as strawberry compote or blueberry compote.
Frequently asked questions
Serving suggestions
I love this cake just as it is and don’t usually bother with toppings. But if you’d like, you can top it with any of the following:
Blueberry compoteStrawberry compoteChocolate whipped creamKeto whipped cream
Storing leftovers
I usually slice the entire cake once it’s been refrigerated overnight, then store the slices in airtight containers in the fridge. We’re a family of four and this cake is incredible, so we go through the slices quickly. But it should last in the fridge for up to 5 days.
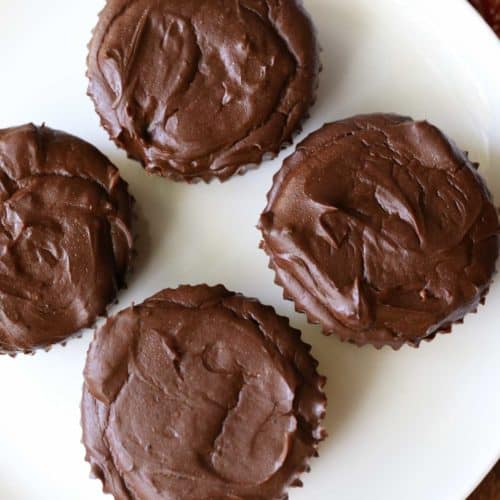
Related recipes
👩🏻🍳 I typically publish a new or an updated recipe once a week. Want these recipes in your inbox? Subscribe! You can unsubscribe at any time.
Recipe card
❤️ Let’s connect! Follow me on Pinterest, Facebook, TikTok, YouTube, Instagram, or Twitter.