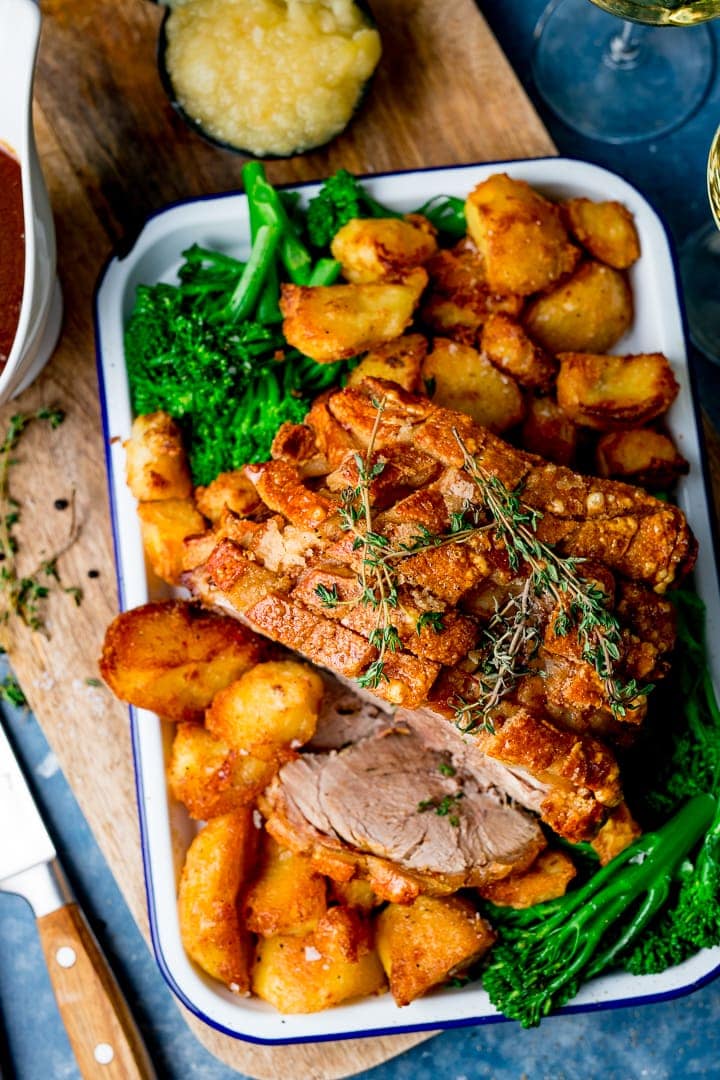
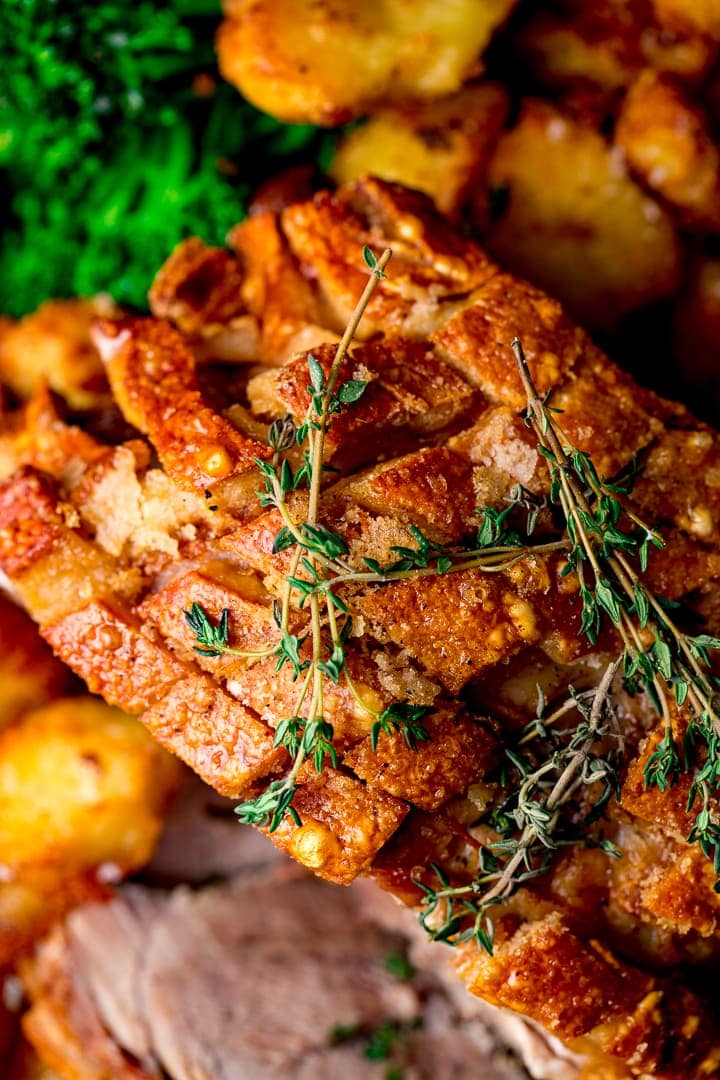
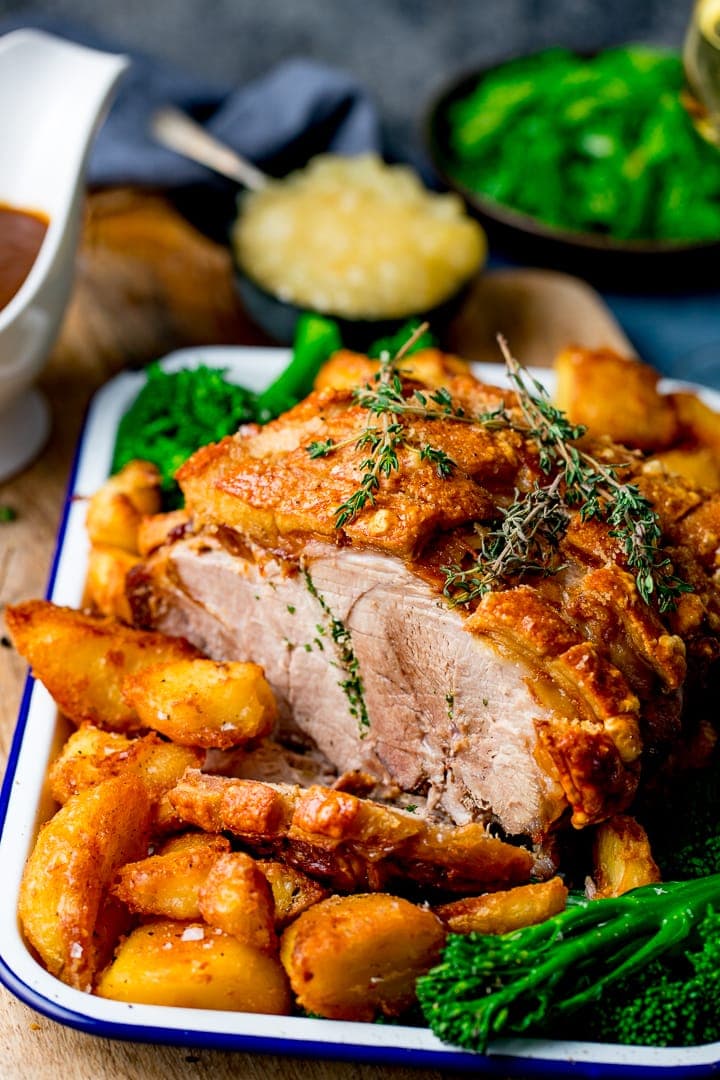
If you’ve ever struggled to get really crispy crackling then I’m going to help you today. This will be the best crackling you’ve ever eaten. Just check out Chris’s expression at the end of the video when he takes a bite. I think maybe it should have been a private moment 😄 Not forgetting a must for any roast dinner - really flavourful gravy, and lots of it! …and I’ve just published my simple apple sauce recipe too - so we’re all set for an awesome roast pork dinner! Let’s just take a closer look at that crackling……..
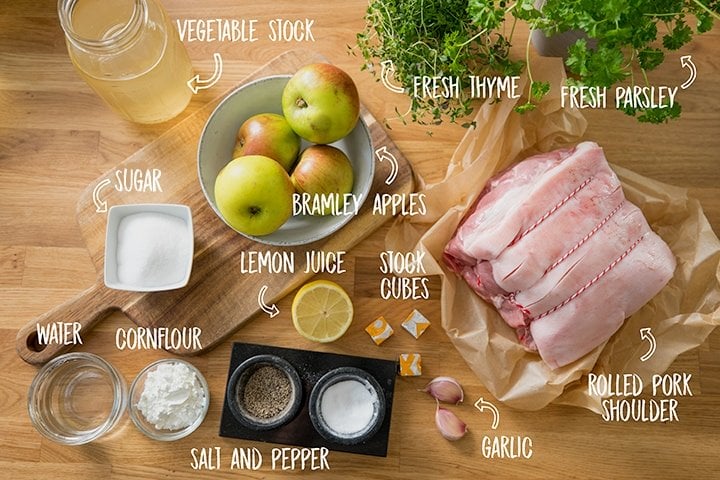
Here’s what you’ll need (I’ve included apples, sugar and lemon juice here for the apple sauce too):
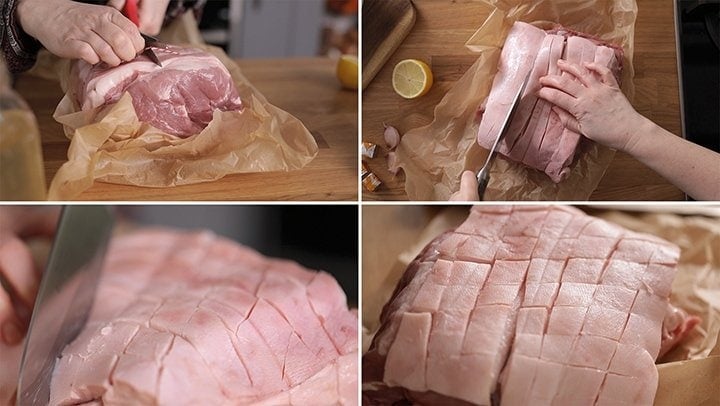
Scoring the pork:
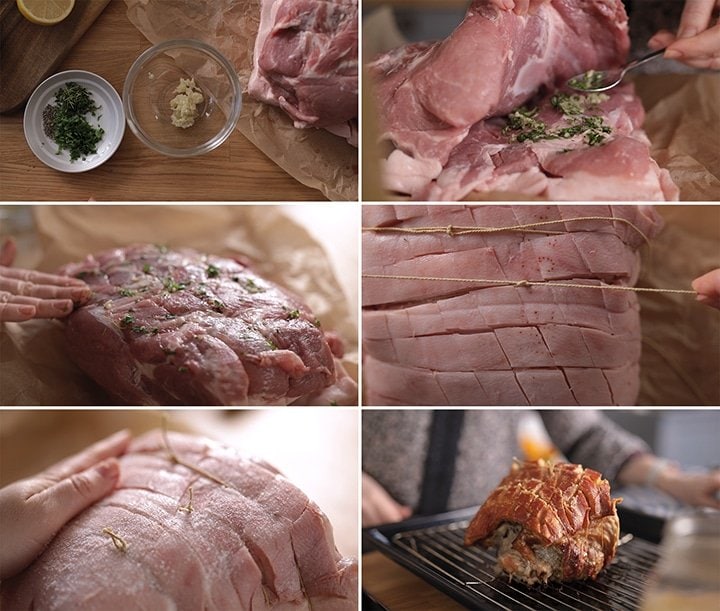
I like to use a really good quality boneless shoulder joint. If it’s tied and rolled, then cut the string (make sure you’ve got some more string to tie it up again later), unroll the pork, and place on a tray skin-side up. Score the fat in diagonal lines quite deeply using a really sharp knife (don’t cut into the meat itself).
Prepping and roasting the pork:
Spread the minced garlic onto the meat and sprinkle on the thyme and parsley. Sprinkle on the black pepper and a pinch of the salt. Roll the pork joint back up and secure with butcher’s string. Rub salt all over the skin. Place on a wire rack over a roasting tin and roast in the oven for about 2 and a half hours.
Making the pork gravy:
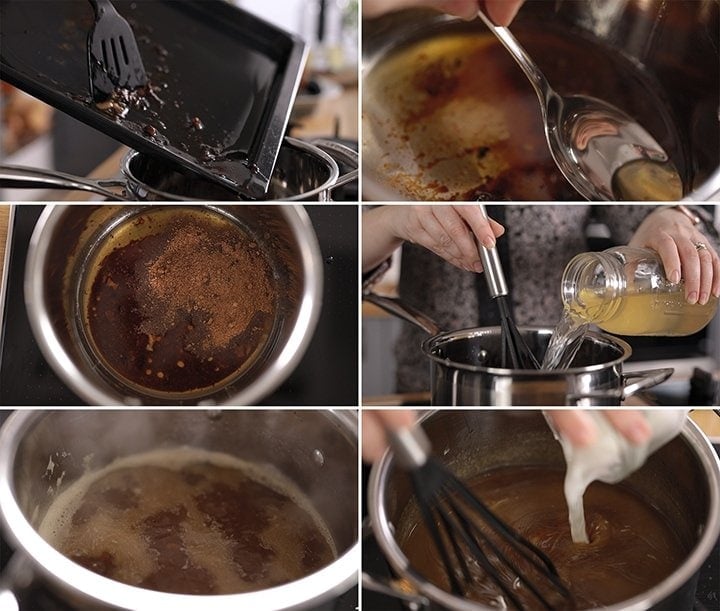
Take the pork out of the oven and pour any meat juices into a saucepan (scraping up any crispy bits in the tin - that’s where all the flavour is!). Turn up the oven and place the pork back in for 20-25 minutes, until the skin bubbles and crisps up. Meanwhile, heat the meat juices in the saucepan. Sprinkle on the crumbled stock cubes, a little salt and pepper and any vegetable cooking water from cooking your veggies (or boiling water). Bring to the boil and stir in a the cornstarch slurry using a whisk, until the gravy thickens. Remove the pork from the oven, and allow to rest for 10 minutes. Once rested, add any meat juices from the rested meat to the gravy and heat it through again.
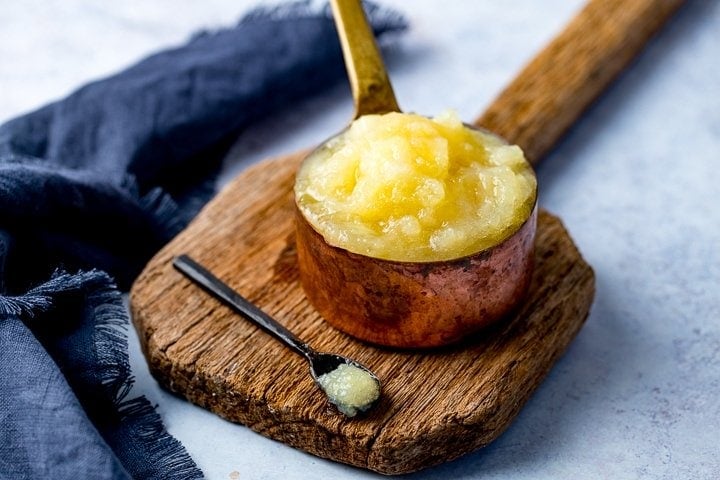
Serve with easy apple sauce
Top tips for perfect crackling:
Dry the skin first. Moisture = chewy crackling! Score the skin. You often find the skin ready scored, but it’s NEVER enough! Remove the string if you need to (I always do), and score it yourself in a criss-cross pattern, so each square/diamond is around 1 - 1.5cm across. You want to cut through the skin but not the flesh of the pork. The skin is tough when raw, so you’ll need a really sharp knife. Once you’ve scored it, you can roll it back up again and secure with string. Salt the skin! Lot’s of salt. It will look too much, but it’s vital to beautiful, flavourful crackling. We’re talking 1 tablespoon of table salt. None of that expensive Maldon/salt flakes business - good old cheap table salt will give the best, most consistent result for your crackling. Also be sure to only salt the skin right before it goes in the oven. Salt can draw out moisture if it’s left on for too long before going in the oven. Remember: Moisture = chewy crackling! Cook the joint slow and low at first, then turn up the oven for the last 20-30 minutes. That final blast of heat will make the crackling bubble and puff up and is key to crispy crackling. Keep a close eye on it though, as it can burn quickly. Rest the joint before serving to ensure the meat itself it juicy and tender. Cutting it right away - especially after that final blast of heat - will result in a dry joint of meat. No need to cover during resting (plus it’s best not too for really crispy crackling), it will retain its heat during a 10-15 minute rest.
Troubleshooting:
My crackling won’t go crispy and I’m worried the pork will be dry if I cook it for longer.
No worries, take the pork out of the oven, carefully cut off the skin and cover the meat to keep it warm, then place the crackling back in the oven and cook by itself, keeping a close eye on it so it doesn’t burn, until crisp. The crispiest of crispy Roast Potatoes Simple butter pepper Carrots Cheats cauliflower cheese Creamy Mashed Potatoes Sprouts (4 different ways to serve sprouts here!)
There aren’t enough meat juices for my gravy!
Pork tends to release less meat juices then chicken, beef or lamb. It’s a good ideas to pour the juices you do get in a pan BEFORE you give it that last blast of heat. If there are sticky bits in the pan be sure to scrape them into the pan too (those sticky bits are serious concentrated flavour). That heat will evaporate the liquid if it’s left in the oven, and it will possibly burn, so scrape it out first and place the pork in the oven for its final 20-30 minutes. The meat will also release some liquid when it’s resting, so you can add that into the gravy later, once the gravy is made. Worst case scenario - use a mixture of chicken and beef stock cubes to help get a meaty gravy with what juices you have.
Do you cover pork when roasting?
Nope. The best crackling needs dry air, and covering will keep condensation on the skin. Covering a joint of meat when cooking does generally help to ensure a juicier joint, but if you use a joint of pork with some fat marbling, this fat will help to keep the meat tender without the need to cover. If you love a Roast dinner check out my Full Roast Beef Dinner - with complete time plan or my slower cooker beef brisket dinner (including veggies and gravy) all cooked in the slow cooker!
The Video:
Some of the links in this post may be affiliate links – which means if you buy the product I get a small commission (at no extra cost to you). If you do buy, then thank you! That’s what helps us to keep Kitchen Sanctuary running. The nutritional information provided is approximate and can vary depending on several factors. For more information please see our Terms & Conditions.


